How to Take Screenshots on Laptop
How to screenshot on any Laptop
If you’re looking for the easiest ways to take screenshots on laptop, you’ve come to the right place. This article shows you how to take screenshots on laptop quickly and easily. Just try the tips below.SOMETIMES YOU HAVE to capture that crazy text you received, grab proof of your amazing high score in a game, or send the IT department a picture of what’s going wrong on your device. Knowing how to take a screenshot can save you a lot of explaining. Every operating system has a built-in method of capturing the screen. Some even allow you to capture specific portions or grab a scrolling screenshot.
Tip 1: Use keyboard shortcuts to screenshot the entire screen and an active window
if you want to take screenshots on your laptop and then use them in an app, the quickest way is using Windows keyboard shortcuts.
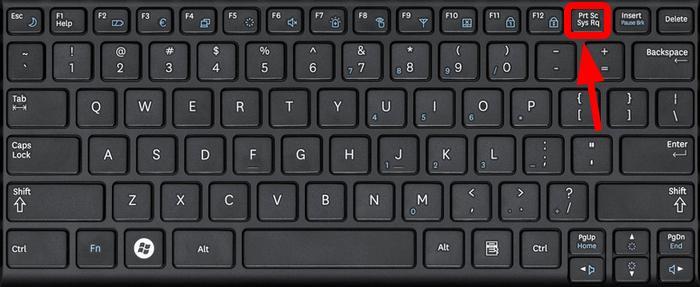
The entire screen will be captured and automatically copied to the Windows clipboard. Then you can paste the screenshot into Paint, Word or any other apps.
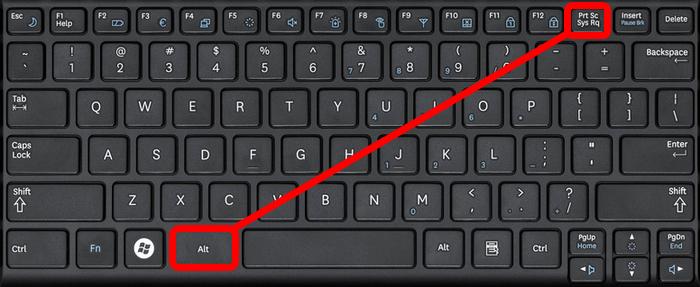
If you want to take a screenshot of an active window, press Alt+PrtScn.
Tip 2: Use Snipping Tool to take and edit screenshots
Snipping Tool is a pre-installed system tool for screenshot. You can use it to capture your screen and do some simple editing. Here’s how to use Snipping Tool to take screenshots on laptop:
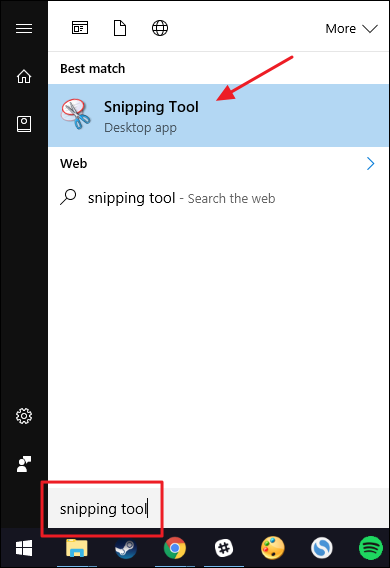
- 1) Type snip in the Windows search box, and select Snipping Tool from the results.
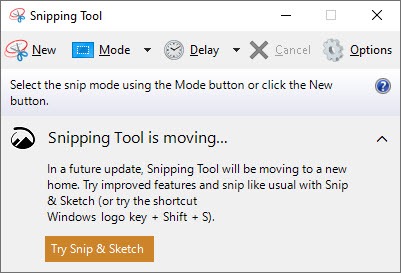
2) At Snipping Tool, click New to capture a screenshot.
3) Move the crosshair to where you want to start the screenshot, then drag to select an area.
Note: If you want to cancel, press Esc before you click.
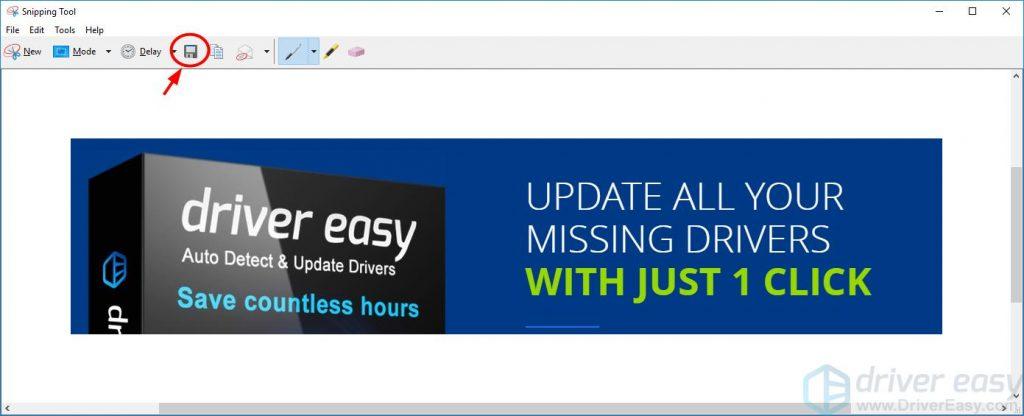
4) Click the Save Snip icon to save the screenshot.
Note: You can save the picture in PNG or JPEG format.


Comments
Post a Comment